Welcome to eastarbattery!
 86-18664968482
 info@eastarco.com sales6@eastarbattery.com
 RM 905,Hongchang Plaza,Shennan Road East, luohu District, Shenzhen

- HOME
-
PRODUCTS
PRODUCTS
-
Energy Storage Battery
Stackable Battery Wall-Mounted Battery Residential Energy Storage System
-
Lithium Cell / LiFePo4 Cell
Lifepo4 Cell lithium cell -
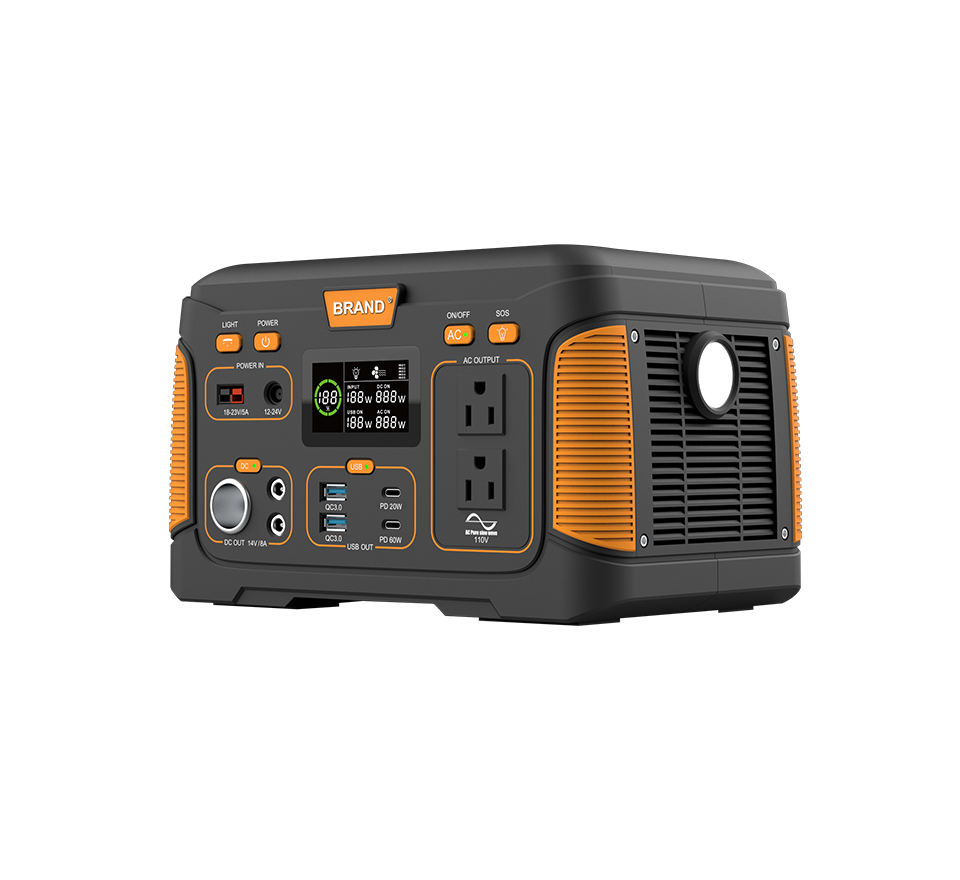
Portable Power Station
-
12V/24V Lifep4 Battery Pack
24V LIFEPO4 BATTERY 12V LIFEPO4 BATTERY -
Golf Cart/Marine Battery
Golf Cart Batteries Marine Battery -
Two/Three Wheeler Batteries
-
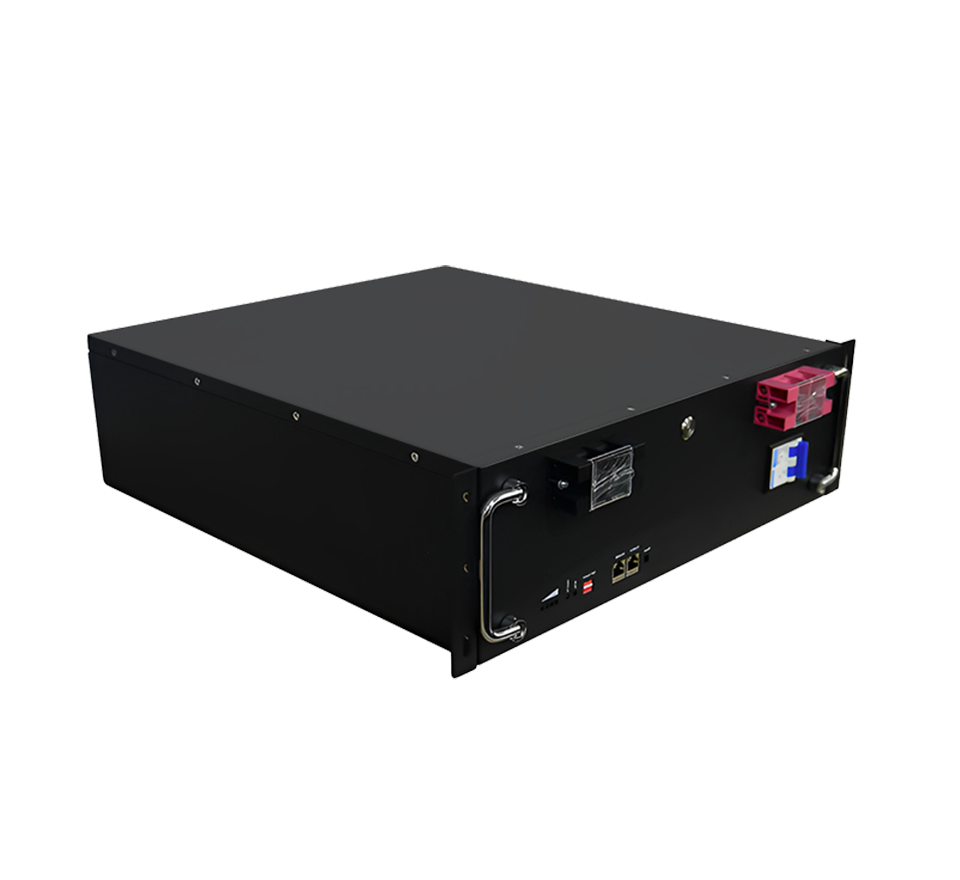
5.12 kWh Cabinet Type Energy Storage Lithium Battery
EA5000 is a high-performance energy storage solution tailored for residential homes, small businesses, and solar energy systems. Built with Grade-A lithium iron phosphate (LFP) cells, it guarantees a long cycle life of over 6000 cycles and delivers stable, safe, and efficient power., they provide a reliable power solution for both commercial and personal applications. Advanced safety features include protection against overcharging, short circuits, and extreme conditions. Customizable voltage, capacity, size, and connectivity options are available, along with smart monitoring via Bluetooth or LCD displays.
→ -

25.6V 314Ah 8kWh LiFePO4 Battery Home & Commercial Energy Storage Solution
The 25.6V 314Ah 8kWh LiFePO4 battery is designed for home and small commercial energy storage applications. Featuring Grade-A LFP cells, over 6000 cycles lifespan, wide inverter compatibility, and modular expansion of up to 16 units, it delivers safe, scalable, and reliable backup power. With smart BMS, plug-and-play installation, and remote monitoring support, this battery offers efficiency, safety, and durability for renewable energy systems.
→ -

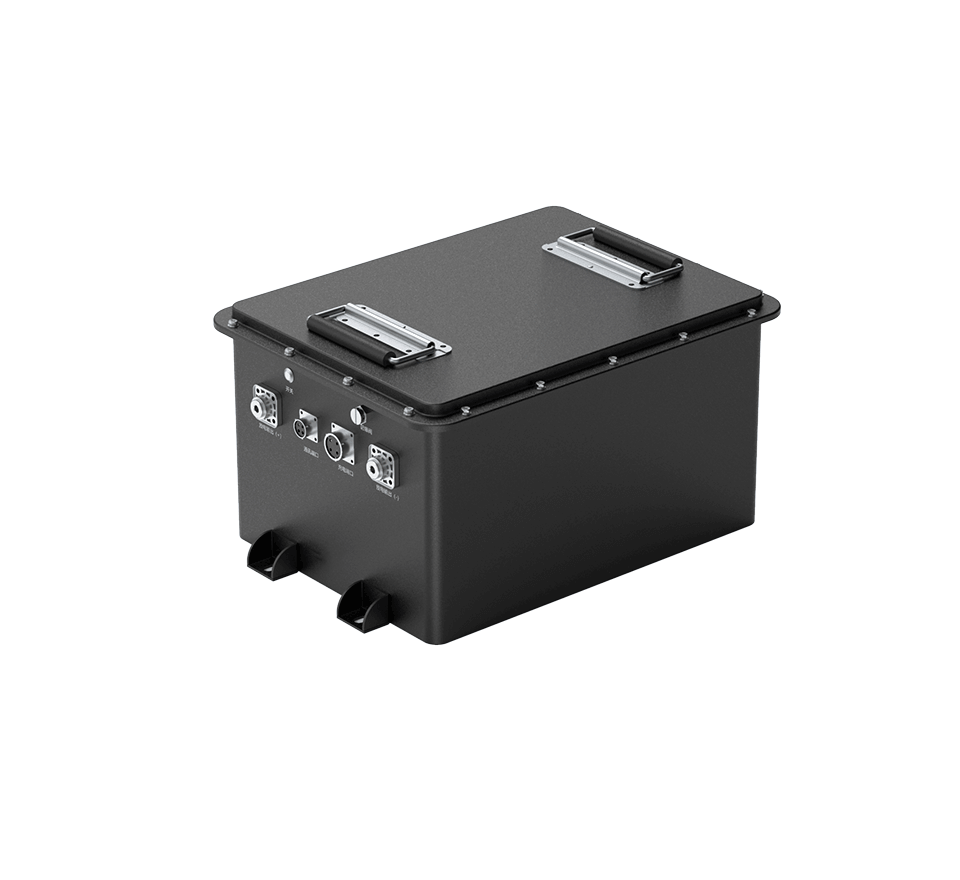
51.2V 230Ah 12kWh floor-mounted Wheeled Lifepo4 Battery Pack
12kWh Lifepo4 Battery Pack Suitable for residential and small commercial energy storage solutions.
→
-
.png)
NCM Li-ion Battery Cells - Product Series and Specifications
NCM Li-ion cell, 14500 battery, 18650 battery, 21700 battery, 26650 battery, high capacity Li-ion, rechargeable battery, high discharge current, lithium nickel manganese cobalt oxide battery, EV battery, energy storage battery
→ -
.png)
32700 LiFePO4 Battery 3.2V 6000mAh High-Discharge cylindrical Battery
The 32700 (also known as 32650) is a high-performance cylindrical LiFePO₄ battery with a nominal voltage of 3.2V and capacity of 6000mAh. Designed for high energy density, long cycle life, and superior safety, it is widely used in solar lighting, power tools, emergency systems, and energy storage applications. With support for high discharge currents (up to 5C) and integrated safety protections, this battery offers a reliable and efficient power solution for demanding environments.
→ -
.png)
18650 Lithium-Ion Battery 3.7V 2600mAh High-Capacity Rechargeable Battery
The 18650 battery is a high-performance cylindrical lithium-ion cell, measuring 18mm in diameter and 65mm in length. Known for its high energy density, long cycle life, and versatility, it is widely used in power tools, consumer electronics, electric vehicles, smart home devices, and more. With a nominal voltage of 3.7V and typical capacity of 2600mAh, it delivers reliable power for high-drain and everyday applications. Its compact design, low self-discharge rate, and robust performance make it a preferred choice across industries.
→
-

12.8V 150AH Lithium Iron Phosphate (LiFePO4) Battery
EASTAR'S 12V lithium battery has the outstanding features of large capacity per unit weight, high discharge power, fast charging, long cycle life, and high stability under high temperature and high heat environment. built-in BMS management system, which can independently realize all kinds of protection as well as protection recovery, and the modules can be used directly in parallel. Lithium alternative lead-acid, not only can save battery space, reduce battery weight, but also has a long life, wide operating temperature range, support for high-current discharge and a series of advantages.
→ -

12V 50AH LiFePO4 Battery for solar
EASTAR'S 12V lithium battery has the outstanding features of large capacity per unit weight, high discharge power, fast charging, long cycle life, and high stability under high temperature and high heat environment. built-in BMS management system, which can independently realize all kinds of protection as well as protection recovery, and the modules can be used directly in parallel. Lithium alternative lead-acid, not only can save battery space, reduce battery weight, but also has a long life, wide operating temperature range, support for high-current discharge and a series of advantages.
→ -

EASTAR 24V 200Ah LiFePO4 Battery for solar
The 24V 200Ah battery uses Grade A (EV-grade) LiFePO4 cells, making it a premium replacement for AGM and gel lead-acid batteries. It delivers outstanding performance across various applications, including backup power, power systems, and communication tools. Additionally, it is highly suitable for RVs, golf carts, boats, and solar systems.
→
-

Lithium Golf Cart Batteries 72V 105Ah LiFePO4 Battery
EASTAR golf cart battery offers a reliable power solution for golf carts, available in capacities like 50AH - 150AH and voltages of 36V, 48V, 72V. Its LIFEPO4 batteries have high energy density, are lightweight, enable longer operation, and charge quickly (3 - 5 hours). They support deep discharge for steady power, have a 10-year lifespan with no maintenance, and multiple safety features. EASTAR specializes in these batteries, which come with BMS protection and a meter for amperage indication. The LiFePO4 chemistry and advanced tech ensure safe operation in all stages.
→ -
51V 60Ah LiFePO4 Battery for Golf Cart
EASTAR golf cart battery is a high-efficiency battery solution designed for golf carts. Its lightweight and long service life make golf carts more flexible during driving and can support longer use without frequent charging. In addition, lithium batteries have fast charging speed and excellent energy density, providing stable and reliable power, and improving the overall performance of golf carts. Compared with traditional lead-acid batteries, 36V lithium batteries have better durability and lower maintenance costs. They can work normally in extreme weather conditions while reducing environmental impact. With the advancement of technology, more and more golf cart manufacturers are beginning to adopt lithium batteries to meet users’ higher demands for endurance and efficiency.
→ -

36V 105Ah Lithium Golf Cart Battery
EASTAR golf cart battery is a high-efficiency battery solution designed for golf carts. Its lightweight and long service life make golf carts more flexible during driving and can support longer use without frequent charging. In addition, lithium batteries have fast charging speed and excellent energy density, providing stable and reliable power, and improving the overall performance of golf carts. Compared with traditional lead-acid batteries, 36V lithium batteries have better durability and lower maintenance costs. They can work normally in extreme weather conditions while reducing environmental impact. With the advancement of technology, more and more golf cart manufacturers are beginning to adopt lithium batteries to meet users’ higher demands for endurance and efficiency.
→
-
- CASES
- ABOUT EASTAR
- NEWS & EVENT
- CONTACT US
- Alibaba
- Made-in-China